Mastering Knife Techniques: Proper Slicing Technique with Gyuto and Other Essential Knives
Estimated reading time: 10 minutes
Key Takeaways
- Understand the unique purposes of Gyuto, Santoku, Nakiri, Deba, and Sujihiki knives.
- Learn proper slicing techniques to improve safety and efficiency in the kitchen.
- Discover tips for maintaining your knives for optimal performance.
Table of Contents
- Understanding Kitchen Knives: Knife Types for Every Task
- Proper Slicing Technique with Gyuto: Mastering the Essential Cut
- How to Julienne Vegetables with Santoku: Creating Fine Strips Easily
- Using Nakiri for Vegetable Prep: Clean, Efficient, Consistent
- Filleting Fish with Deba Knife: Control and Power for Seafood
- Precision Slicing with Sujihiki: Beautiful Slices Every Time
- Conclusion: Practice Makes Perfect, Mastering Knife Techniques
- FAQ
Understanding Kitchen Knives: Knife Types for Every Task
Professional chefs and home cooks alike know that having the right knife for the job makes cutting safer, easier, and more accurate. Here’s a breakdown of the five must-have Japanese kitchen knives and their unique advantages. Learn more here.
Gyuto: Japanese Chef’s Knife for All-Purpose Cutting
- The Gyuto knife is the Japanese version of the Western chef’s knife.
- Its sharp, pointed tip allows for precision cutting, detailed work, and accurate slicing.
- The subtly curved blade edge is perfect for push-cuts, rocking, and chopping, it adapts to a wide range of cutting tasks.
- Whether you’re slicing meat, chopping herbs, or dicing vegetables, the Gyuto is your all-around tool for versatility and control.
- Learn more about the Gyuto knife.
- Gyuto Knife Review: Comprehensive Guide to Japanese Knives and Their Unique Benefits
Santoku: Best for Quick Slicing, Dicing, and Mincing
- The Santoku has a flat edge and a sheepsfoot blade, no tip means more control and safety.
- Ideal for push cutting and efficient processing of vegetables and proteins.
- Its design makes it possible to achieve straight, even cuts quickly, which is perfect when speed is important.
- Explore the push cut with a Santoku.
- How to Julienne Vegetables with Santoku: Mastering Essential Japanese Knife Skills
Nakiri: Designed for Vegetable Prep
- The Nakiri knife features a straight, double-edged blade.
- The flat profile makes it a specialist for chopping, slicing, and dicing vegetables, no rocking motion needed.
- Produces clean, uniform cuts, making it a favorite for preparing salads, stir-fries, and garnishes.
- What is a Nakiri Knife? A Complete Guide to Japanese Chef Knife Types
Deba: For Fish and Poultry Prep
- The Deba is heavy and single-beveled, designed especially for filleting fish and breaking down poultry.
- Its weight and thick spine allow for cutting through bones and creating precise cuts needed in seafood prep.
Sujihiki: For Precision Slicing of Meats
- The Sujihiki is a long, slender slicing knife crafted for precision slicing with Sujihiki, perfect for both cooked and raw meats.
- Its slim shape and thin blade allow for clean, thin slices that preserve the texture and visual appeal of your food.
Benefits of Using the Right Knife:
- Improved control means fewer accidents and more confidence.
- Working with the best knife for the job speeds up prep time and reduces strain.
- Uniform, clean cuts elevate the appearance and evenness of cooking.
Proper Slicing Technique with Gyuto: Mastering the Essential Cut
Unlocking the power of the Gyuto starts with learning the proper slicing technique with Gyuto. This knife is prized for its adaptability, but your technique determines the efficiency and safety of your work.
Step-by-Step Guide: How to Use a Gyuto Knife
1. Proper Grip
- Hold the Gyuto’s handle firmly and comfortably.
- Pinch the blade just above the bolster with your thumb and forefinger. This “pinch grip” offers extra control and balance over the blade.
- For tasks needing finer control, slide your grip slightly forward toward the tip.
- See a demonstration of knife grips.
2. Positioning the Food
- For sturdy chopping (like carrots or onions), place the food near the heel of the blade.
- For fine, delicate cutting, such as chives or garlic, move the food closer to the tip.
3. Slicing Motion
For Vegetables:
- Use a rocking or push-cut. Start with the tip touching the cutting board and push the knife forward and down, letting the blade’s curvature help make the cut.
- Apply gentle, smooth pressure. Let the blade do most of the work.
- Discover more about Gyuto techniques.
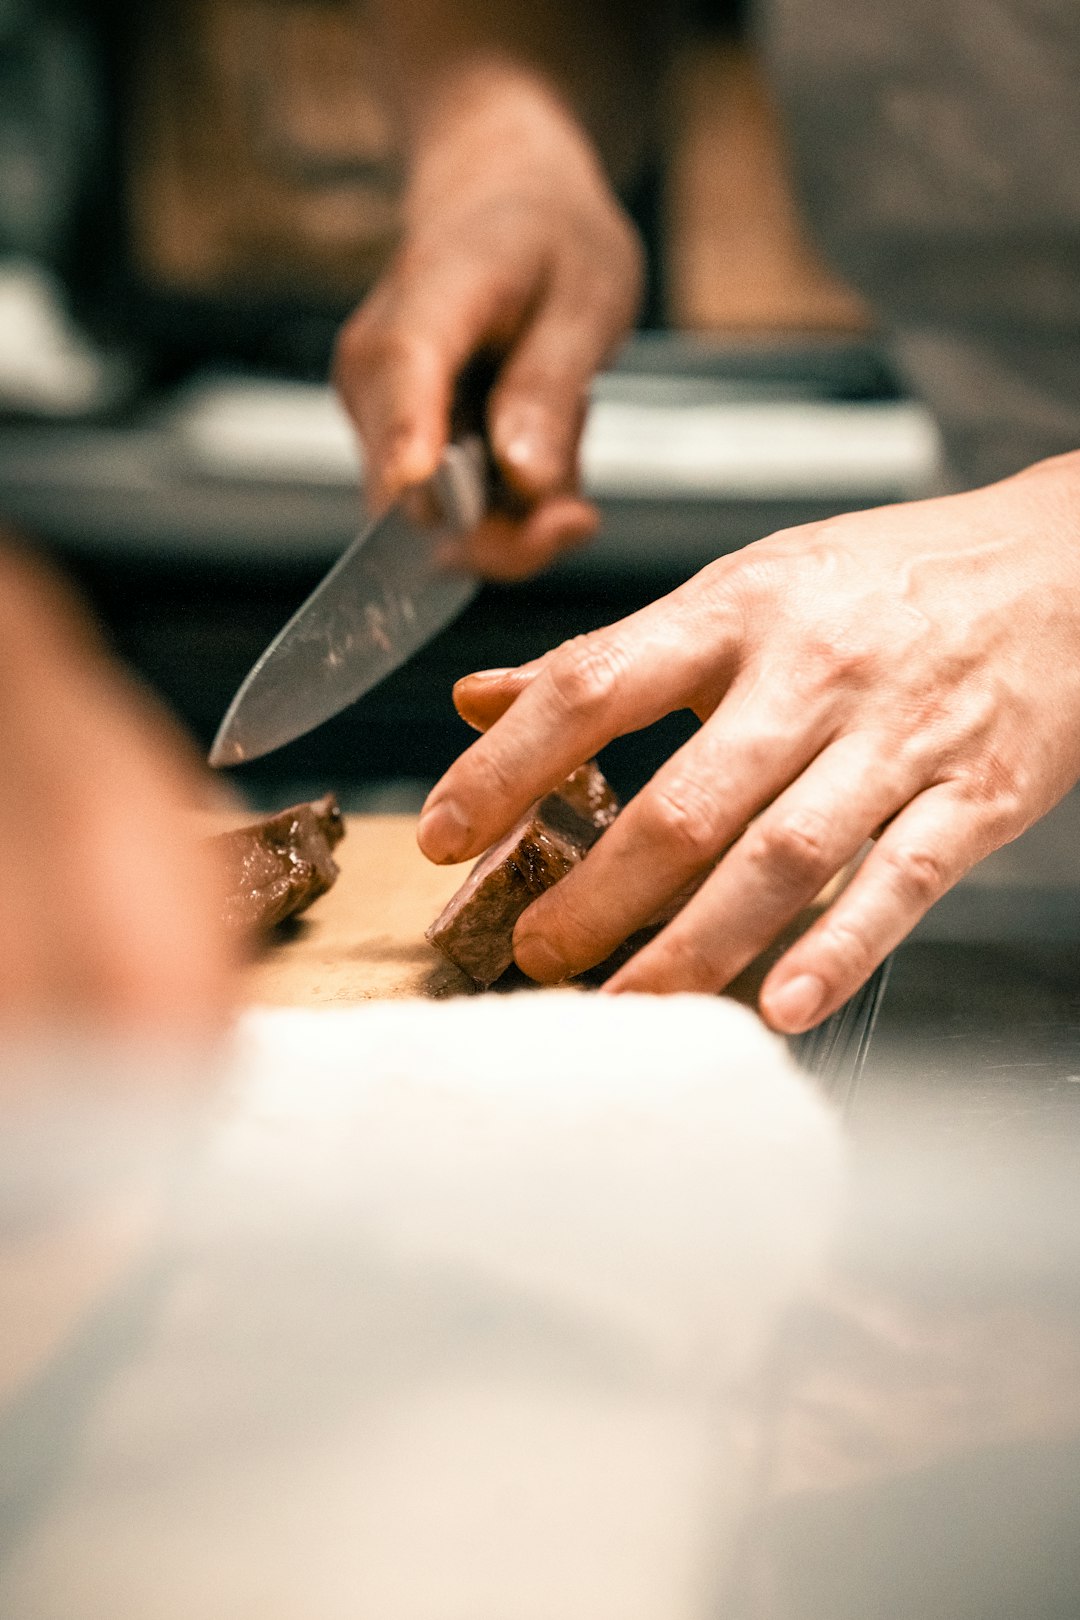
For Meats:
- Use a draw-cut (pull cut) for meats, poultry, or fish. Place the tip at the far end of the meat and gently pull the knife toward you in one smooth motion.
- Maintain even pressure for thin, uniform slices, crucial for both aesthetics and tenderness.
- Further guidance here.
4. Hand Placement
- Guide your food with your non-dominant hand using the “claw grip.”
- Tuck your fingertips inward, guiding the knife along your knuckles to safeguard your fingers and maintain consistent slice thickness.
5. Common Mistakes to Avoid
- Don’t saw the knife back and forth or use excessive force. The Gyuto’s sharp edge and shape mean gentle, controlled movements are best.
- Always let the blade’s sharpness do the slicing, you don’t need to press heavily.
- Avoid improper hand positioning. Failing to use a claw grip increases injury risk.
- Apply even pressure for slices that are uniform in thickness.
- How to Sharpen Japanese Knives: The Ultimate Japanese Knife Sharpening Guide
How to Julienne Vegetables with Santoku: Creating Fine Strips Easily
One of the most useful cutting styles is the julienne, thin, matchstick-like strips seen in salads and stir-fries. Here’s how how to julienne vegetables with Santoku for best results.
What Is Julienne?
- Julienne is a method that transforms vegetables into long, thin strips.
- This precise, decorative cut helps with even cooking and attractive presentation.
- Commonly used for carrots, zucchini, bell peppers, and potatoes in salads, slaws, and garnishes.
Detailed Tutorial: Julienne with a Santoku Knife
Step 1: Prepare the Vegetable
- Wash and peel your vegetable if needed.
- Trim the ends to give yourself stable, flat surfaces for cutting.
Step 2: Slice into Thin Planks
- Lay the vegetable flat on your cutting board. Stability is key.
- Use the Santoku’s flat edge for straight, downward motions to slice the vegetable into thin, even planks.
- Keep each plank about 3-4 mm thick for best results.
- See a discussion of push cuts.
Step 3: Stack and Slice into Strips
- Stack the planks neatly on top of each other for efficiency.
- Use the same consistent, straight-down motion to cut through the stack and form uniform matchstick strips (julienne).
- Focus on maintaining even thickness throughout.
Step 4: Hand Positioning
- Use the claw grip with your non-dominant hand to firmly hold the stack.
- Guide the Santoku along your knuckles for safety and uniformity.
Tips for Uniformity and Speed
- Leverage the full length of the Santoku’s blade for long, continuous cuts, avoid hesitant, choppy motions.
- Begin with slow, careful cuts as you build confidence. With practice, your speed and accuracy will increase together.
- Keep your knife sharp for smooth, effortless slices.
Using Nakiri for Vegetable Prep: Clean, Efficient, Consistent
When it comes to preparing vegetables, nothing matches the efficiency of the Nakiri. Here’s how using Nakiri for vegetable prep delivers perfect results.
What Makes the Nakiri Special?
- The Nakiri’s straight, flat edge means every part of the blade contacts the cutting board with each motion.
- No rocking is needed, just simple, up-and-down movements.
- The double-edged blade and rectangular profile make slicing, dicing, and mincing straightforward and effective.
Step-by-Step Guide: Chopping and Dicing with Nakiri
Step 1: Proper Grip
- Hold the Nakiri using a pinch grip for the best balance.
- Your thumb and index finger should grip the blade just above the heel, with the rest of your fingers wrapped around the handle for stability.
Step 2: Position Your Hands
- The non-dominant hand should assume a firm claw grip to protect the fingertips.
- Presentation and safety both improve with proper hand placement.
Step 3: Up-and-Down Chopping Motion
- Lift the Nakiri straight up and bring it directly down through the vegetable.
- The knife’s shape eliminates the need for a rocking motion.
- Each cut should be deliberate and smooth, letting the sharp edge do the work.
Step 4: Slicing and Dicing
- For thin slices, push the blade gently forward and down through the vegetable.
- For perfect diced cubes, slice the vegetable into planks, then into sticks, and finally chop crosswise.
Benefits of the Nakiri for Vegetable Preparation
- Chopping bulk veggies becomes much faster and more uniform.
- Even, squared sides mean every piece of carrot or cucumber cooks at the same rate.
- Flat, clean cuts reduce bruising or crushing, keeping delicate produce looking and tasting fresh.
- What is a Nakiri Knife? A Complete Guide to Japanese Chef Knife Types
Filleting Fish with Deba Knife: Control and Power for Seafood
The Deba knife shines when it comes to tasks like cleaning, filleting, and portioning fish. It’s also useful for breaking down chicken and other poultry. Here’s how to approach filleting fish with Deba knife.
Introduction to Deba Knife
- Heavy, thick, and single-beveled, the Deba’s robust build lets it slice through bones and joints while making very clean cuts.
- It brings control and confidence to jobs that require both delicacy and force.
Step-by-Step Guide: Filleting Fish
Step 1: Prepare the Fish
- Scale and rinse the fish thoroughly to remove slime and debris.
- Pat it dry with a paper towel, this makes handling safer and prevents slipping.
Step 2: Initial Incision
- Lay the fish on its side, with the head facing you.
- Make a cut behind the gills, angling the blade slightly toward the head.
Step 3: Removing the Head
- Grip the Deba firmly and use its weight to cut decisively through the bones at the base of the head.
- Remove the head if your recipe calls for it.
Step 4: Filleting Along the Backbone
- With the fish still on its side, position the blade parallel to the backbone.
- Slide the Deba through the flesh, working from head toward tail in smooth, deliberate strokes.
- Stay close to the bone, applying even pressure for a clean separation.
Step 5: Repeat for the Second Fillet
- Flip the fish over and repeat the process on the other side.
Step 6: Removing Rib Bones
- Use the sharp tip of the Deba to carefully slice away remaining rib bones from the fillet.
Safety Tips
- The Deba is heavy and extremely sharp. Always cut away from your body and fingers.
- Maintain a steady grip and a focus on blade path, especially when working with slick fish and hard bones.
Precision Slicing with Sujihiki: Beautiful Slices Every Time
Perfect presentation and texture start with even, paper-thin slices. Precision slicing with Sujihiki delivers professional results for roasts, raw fish, and more.
Why the Sujihiki?
- The Sujihiki’s long, narrow blade minimizes drag and creates smooth, continuous slices.
- Dual-bevel design means it’s great for both left- and right-handed cooks.
- Popular for slicing cooked meats, sushi, and sashimi with no tearing or shredding.
How to Slice with a Sujihiki
Step 1: Prepare the Meat
- For best results, chill the meat slightly. Firmer textures mean cleaner slices.
- Place the meat securely on a non-slip cutting board.
Step 2: Slicing Technique
- Hold the Sujihiki with a comfortable, steady pinch grip.
- Use a gentle back-and-forth (draw-cut) motion, starting at the heel and pulling smoothly toward the tip.
- Do not press down hard or saw back and forth, the blade’s sharpness and length will do the work for you.
- Aim for continuous, even slices from end to end.
Step 3: Maintaining Even Cuts
- Keep the thickness of each slice consistent, ensuring even cooking and an attractive plate.
- Adjust your guiding hand as needed for stability and control.
Benefits of Precision Slicing
- Thin slices make meats tender and improve mouthfeel.
- Slicing with precision maintains the shape of roasts, sashimi, or charcuterie, boosting presentation quality.
Blade Maintenance Tips
- Keep your Sujihiki sharp, regular honing prevents microtears and keeps slices clean.
- Store the knife in a sheath or on a magnetic strip to protect the delicate blade edge.
- Wash and dry by hand; avoid soaking to prevent rust.
Conclusion: Practice Makes Perfect, Mastering Knife Techniques
Using the right knife for the job, backed by proper technique, can completely change your kitchen experience. Mastering skills such as the proper slicing technique with Gyuto gives you greater speed, safety, and confidence in prep work, while the Santoku, Nakiri, Deba, and Sujihiki broaden what you can achieve, from fine julienne strips to flawless fish fillets and impressive roast presentations.
Quick Recap:
- The Gyuto excels at all-purpose slicing and dicing.
- The Santoku is fantastic for julienning and fast meal prep.
- The Nakiri handles all vegetable prep with unmatched efficiency.
- The Deba lets you tackle protein breakdown, especially fish, smoothly.
- The Sujihiki achieves paper-thin, beautiful slices every time.
To solidify your new skills, set aside time to practice each method, muscle memory and confidence grow with repetition. Try different knives for the same task to learn which feels most natural to you.
Join the Conversation:
- Have you tried the proper slicing technique with Gyuto or another knife skill from this guide?
- Share your experiences, tips, or any questions in the comments below.
- Connect with others and help everyone on their journey to safer, smarter, and more enjoyable cooking!
Mastering these techniques opens up a world of cutting precision, creative presentation, and excellent flavor. Happy slicing!
FAQ
What is the best knife for a beginner to start with?
The Gyuto knife is an excellent starting point for beginners due to its versatility and ease of use. It can handle a wide range of tasks, making it a great all-purpose knife.
How often should I sharpen my Japanese knives?
It depends on usage, but generally, you should hone your knives after every few uses and sharpen them every few months to maintain a sharp edge.
Can I use a Santoku knife to cut meat?
Yes, a Santoku knife can be used to cut meat, especially boneless cuts. Its design is suitable for slicing, dicing, and mincing a variety of ingredients.
What's the difference between a Nakiri and a Usuba knife?
Both are traditional Japanese vegetable knives, but the Nakiri has a double-edged blade making it more versatile for everyday use, while the Usuba is single-beveled and favored for highly specialized, precise cuts.
How do I safely store my knives?
Store your knives in a knife block, on a magnetic strip, or in a sheath to protect the blade and prevent accidents.
Further Reading
- Mastering the Art of Cleaning Japanese Knives with Vinegar: A Tradition of Care and Precision
- Magnetic Strip vs Knife Block Storage: Which is Best for Your Japanese Knives?
- How to Store Japanese Knives Safely: Honoring the Blade, Preserving Tradition

